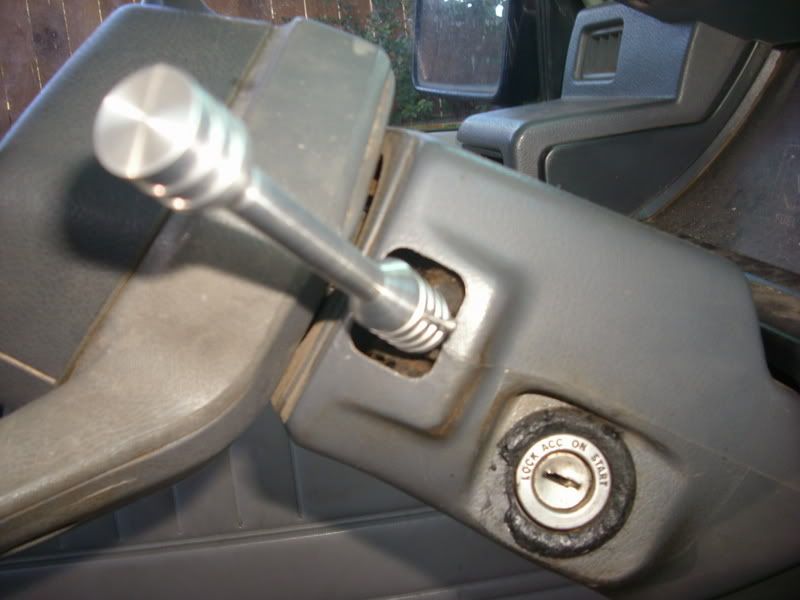
This is a very straight forward HOW TO on replacing it with a NON-BROKEN one. I scored mine at a local u-pull-it for a 5 finger discount.
Tools Needed:
Steering Wheel Puller
Assorted Sockets + 17MM Socket
Philips Screwdriver
Step 1: Unscrew the bottom middle screw to remove the horn. This will also give you access to the Steering Wheel Bolt.

Step2: Use the steering wheel puller to remove the wheel. Set aside.

Step 3: Unscrew 2 Screws

Step 4: Unscrew both screws and un-clip to remove small black cover. Set aside.

Step5: Now your looking at a small circuit board with 4 screws. Below is the wiper arm. Also a Ball Bearing... YOU NEED THIS, Don't LOSE it! Also if you have a magnet wand handy keep it by your side...


Step 6: On the backside of the circuit board you'll see a copper strip, this is what is pressed down to contact the board to use your wiper MISTER's. Do not bend this, your the Misting will not work.

Step 7: Make sure you do not lose this little plastic piece this contacts the copper strip against the circuit board. Seen here in the middle (yellowish white) Also if your "new" arm is missing this piece please transfer from your current arm.


Step 8: This picture shows that the ball bearing at the end (Held on by a dab of grease or else you will have a HEADACHE. Also the installed plastic 'mist' piece.

Step 8: Install new arm, install the circuit board, and all screws. Install the black wire cover and clip into place. Install back onto steering shaft and screw into place. See Step 3 picture. Place steering wheel back on the same way you took it off... don't get this crooked or your will be driving straight with a crooked wheel... you'll see what I mean if you screw this up! Torque down 17mm center bolt... clip and screw back in the horn. Turn key to the "ON" position and test the horn and mist. Then test all speeds on your wiper. If all is well, button up and ENJOY... if a problem persist, start all over and trouble shoot! Email me if you have a problem you CAN'T solve first!


