

You can probably figure out how to do this yourselves. But if you are like me and need examples here ya go. TLDR- Get fan, get wiring temp switch kit, install.
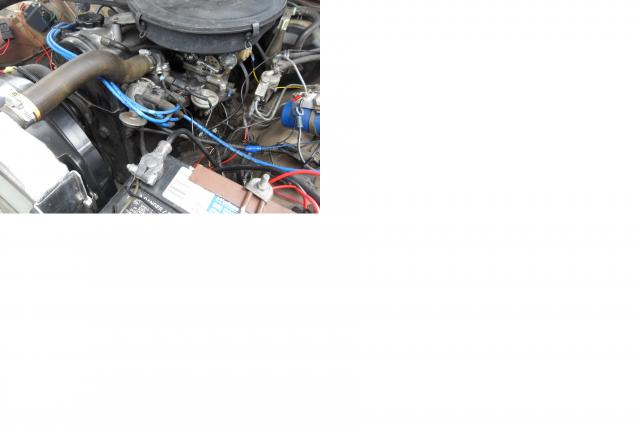
You can get relay kits with a grounding temperature switch for the fan very easily these days. So the real problem is getting a fan and installing it. I paid to get an OE thermostat housing* so I could put the sensor in it. You can also get those kits with a hose fitting for the top rad hose, to screw the temp switch into.
*The OE Tstat housing has the wrong threads for 1/8NPT temp switch that came with the wiring kit. You can choose what size and temp range the switch is and the American Volt kit comes with simple instructions and a diagram. I wanted it to be after the Tstat. I had to drill and tap. Turned out to be very easy using a bench vise 21/64" bit that didn't really touch the existing threads but did remove the shoulder the manufacturing process left at the end of the hole. Then I ran a 1/8NPT tap in to it horizontally using a couple drops of oil for the whole cut. Cutting two turns then taking it out to clean up the chaff. I went far enough in when I screwed the temp switch in the tip was just showing inside. New gasket and a little permatex and bolted on my new thermostat housing.
The model number on this fan is #35317 by Standard (Four Seasons). This one has an NLA plug on it so you can't get a dongle, you have to cut the plug off the fan and use wire connectors. #10 wire. Using Dorman Fully Insulated Disconnects 86429 so you can remove it w/o cutting wire. Black is ground. The other two are low and high speed. I just folded low one up and taped it so it is out of the way and am using the High speed side. I used jumper wire from battery to figure out which one was which. I will eventually add a cheap off on switch so I can run it at will or if the temp switch fails. When it came on after I had it installed it was louder than I expected. Maybe low speed would have been enough. It only ran a couple of minutes and went off again.
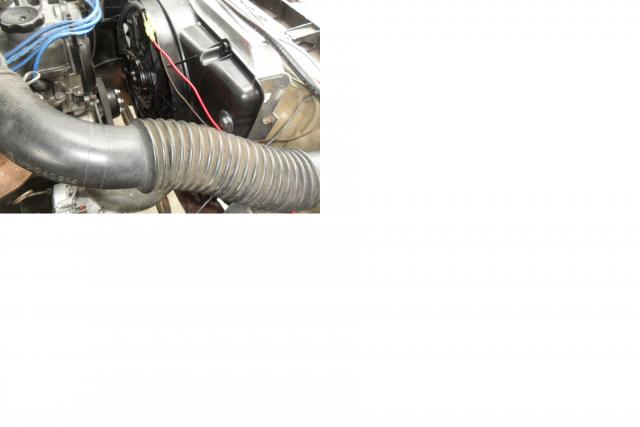
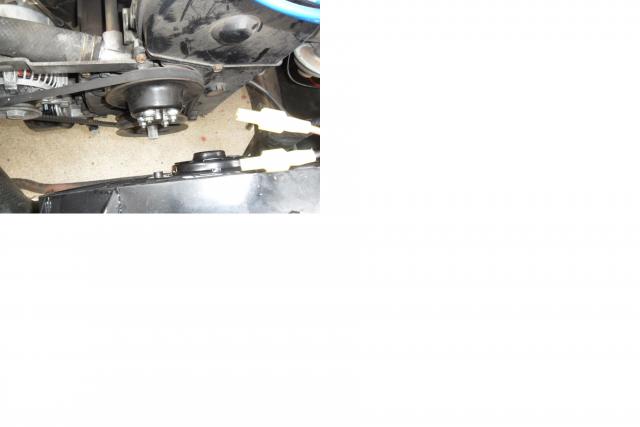
You will have to use some kind of spacer behind the nuts to hold the fan pulley on. I used 3 flat washers. I may end up removing one flat and put a lock washer to replace it. You will also have to cut bits off the fan built in shroud if you use a Ford fan. It is mounted to the OE shroud holes on the rad. I did not take picture before installing it. You need to cut out for the lower hose. I used self sticking weather strip where it is in contact with the rad and for the cutout by the lower hose. The fender washers on the passenger side also have a rubber gasket under them which I made from some rubber sheet I have.
* If you have heard about using Ford fans from the late 80's early 90's, be careful which one you buy. This fan was a size mistake (seller not me, I kept it to do this.) for my other rig and made me look harder. Turns out they are almost a different size for every year and in the same year for different motor options (dual or single cam) on the same car! By the way the sizes listed for Four Seasons fans are counting those ears that stick out it is not the edges of the built in shroud as you might expect it to be.
Let me know if I forgot to explain anything. Like draining the radiator into a bucket before disconnecting anything. The system won't let me add the other pictures. ?? It doesn't say why. EDIT- I think I figured it out they were all over 2mb
The shoulder removed. Shiny
Fan Mount on driver side
Fan Mount Passenger side


 Reply With Quote
Bookmarks